Featured image for Packaging 101 Part 3

Packaging 101 Part 3

by Elizabeth Freeman on 04/15/2015 | 7 Minute Read

Editorial photograph

In Part 1 of this series we established project goals and defined the creative parameters of a project by answering how much, how many, and when. In Part 2 we discussed the structural design process, breaking the mold to create boldforms and pushing structural packaging design beyond generic forms. In Part 3, we’ll outline the visual design process from organization to production.  

Here are 7 steps to help you on your way to delivering the complete package:
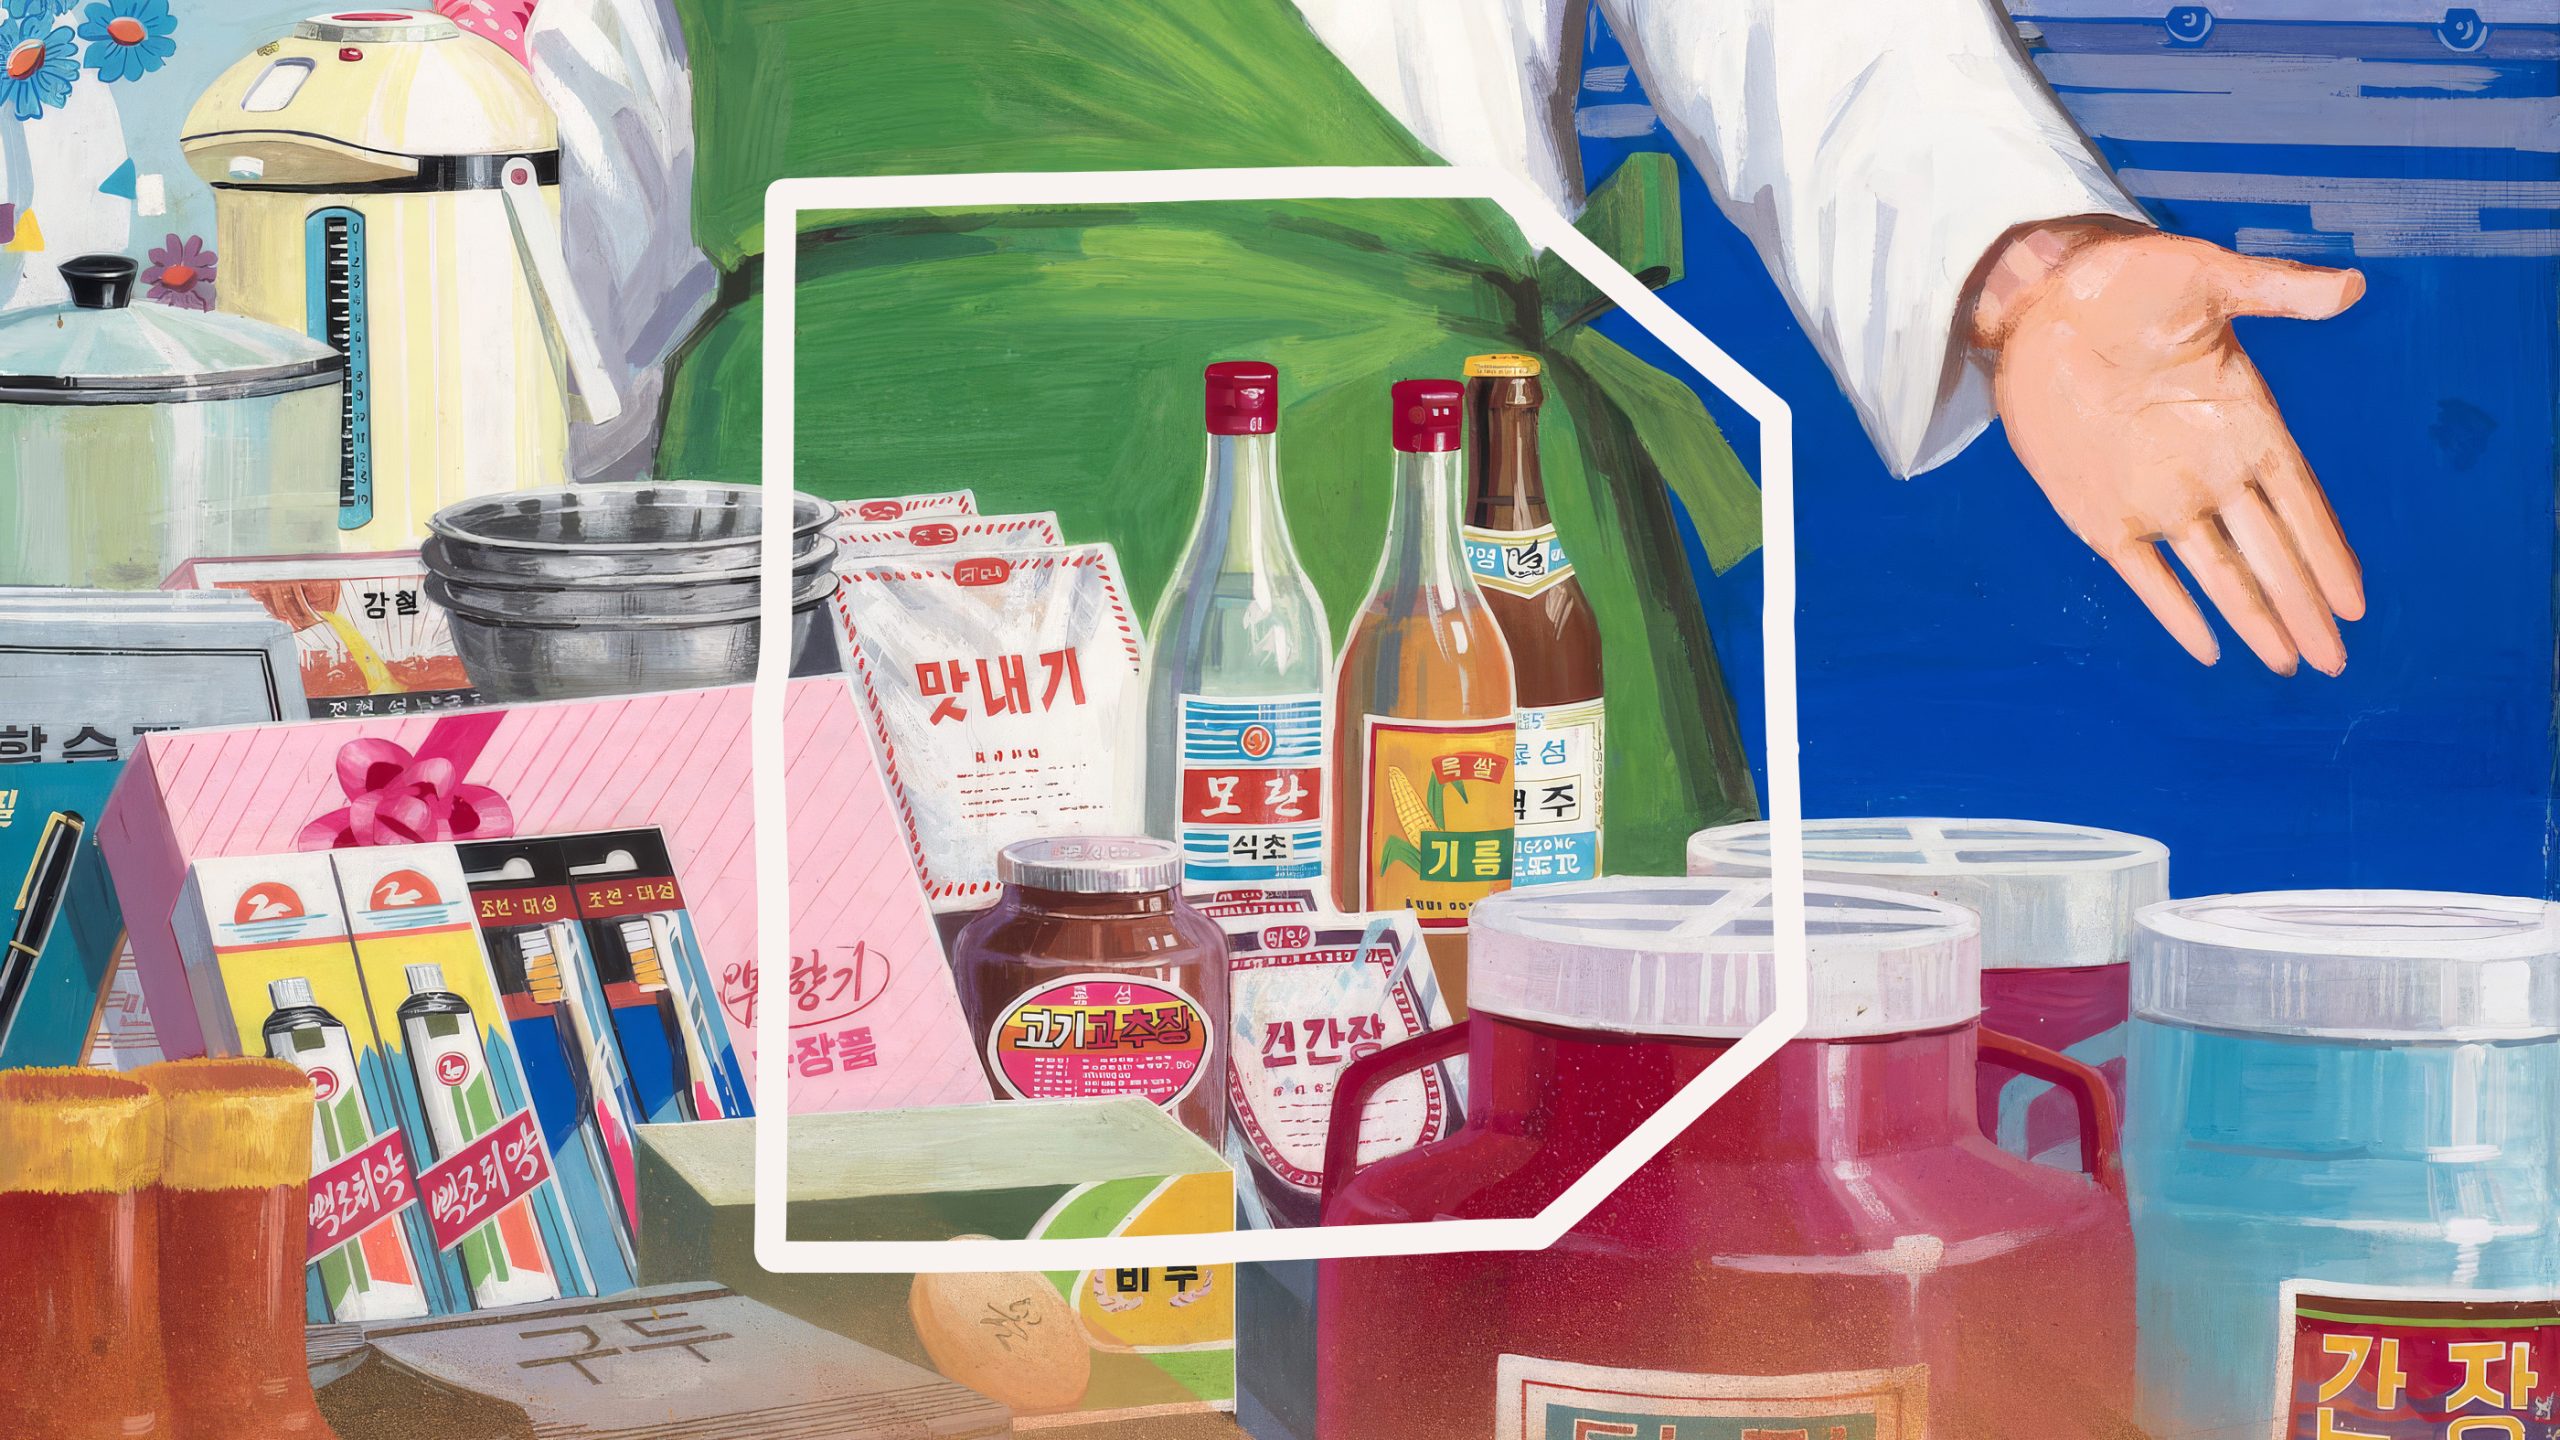
Editorial photograph

1) Research

Data will inform your process, provide context, and establish a strategic foundation. Client evaluation, competitive analysis, and defining targets, are all part of the initial research that goes into framing competitive solutions. Participate, observe, and most importantly, listen to your client. Every brand has its own very personal trajectory, missing the opportunity to listen can bias, and skew your research based on your experience vs the needs of the client.

Editorial photograph

2) Create a mood board.

Mood boards aid in establishing the logic behind the look, feel, and tone of a visual direction in the mind of the client. Using swipe, swatches, color chips, text, and material samples, mood boards can establish a visual language to allow clients to collaborate and articulate their needs in a concise manner. Pinterest and google images are great but don’t limit the source of your boards to digital files available to the public. Get out, get shopping, and hunt down great swipe. Go through that photo archive you’re not sure what to do with, don’t worry, you’re not alone. The process of gathering and editing is not only critical, it is also a great time to begin brainstorming as you select the appropriate vocabulary, images, colors, textures, and materials to convey direction.

Editorial photograph

3) Present your mood board.

"First you create it, then you present it? Sounds like a no-brainer. Well, it’s a brainer. Presenting a board, is about eliciting an emotional response, listening, and crafting a concise story in the mind of the client. Always include tactile components as they invite interaction and establish a physical connection to the concept. Packaging is about interaction, get physical." ITS GREAT!

Recap the mood board presentation and set expectations to the client. Define direction, tone, look, and feel in writing back to the client, communicate your thoughts clearly.

Editorial photograph

4) Get organized.

Gather your elements: approved copy, translations, legal copy, final or FPO images, vector logos, barcodes, product, standards, mock­ups, and ask more questions. Is this packaging part of an established suite, or is this setting the tone for an upcoming suite of packaging? If it is part of an existing suite, make sure to gather them as well. Dr. Nona Woolbright, Clemson EDU. recommends that you: Establish a visual story line, ask questions. Does it tie into a larger brand message? Is there a marketing component, can/should there be?

Editorial photograph

5) Sketch

Physically sketching directly onto the approved structural form from Phase 2, allows you to quickly begin defining hierarchy and organizing content based on the user’s unveiling process. Sketching directly onto the structural form provides context, scale, and creates a platform for immediate user testing. Edit and critique your work as you assemble the strongest solutions, make revisions, and introduce user testing to begin refining roughs into comps. Even though budgetary parameters can be set as discussed in

Phase 1, design beyond them. There will be plenty of opportunities to value engineer the design within the original parameters, through the production process. The benefit of setting those budgets early is they allow you to define the space in which you can create. Those budgets serve as targets to be met when finalizing structure and design, do not limit yourself in the early stages of design A note on hierarchy, content organization will depend on the defined role of the packaging. Packaging that either sells, educates or conveys a specific message, will require a different solution for a content organization based on each of those scenarios.

Editorial photograph

6) Design

Packaging is not about being pretty at a glance, but recognizable at a distance and making a visceral connection. At close range, packaging must navigate the viewer’s eye through its visual design allowing the consumer to make an informed purchase. Having hierarchy defined and approved in the sketch phase, provides adequate information to begin an informed design phase. Sketching, regardless of your personal design process, digital or manually crafted, creates a solid foundation on which to build a consumer experience. Consumers seek an authentic story and experience they can relate to, design for your target market, and don’t try to appeal to everyone.

Designing with the understanding that the human eye sequentially recognizes shape, color, then details, provides the tools to call attention to specific communication, and differentiate the design from on­shelf competitors. Color is a tool that can quickly attract consumer attention. If the majority of the products on a shelf are red, then designing a red box would camouflage your solution. Presenting your ideas as fully fleshed out physical comps allows your client to be collaboratively involved in making strategic decisions about visual architecture, product presentation, fulfillment, and shelf presence. When making and presenting a physical comp is not realistic for any reason, then 3D rendered comps are the next best thing. In this case, presenting a 3D rendered comp with all the final processes is recommended, showcasing how packaging will look under various lighting and shelving conditions.

Editorial photograph

7) Production

When it comes to final design and mass production of visuals, color is always a critical factor. Inform yourself about substrates, finishes, film laminations, and color control methods used in production. Know that white paper is never just white, white can trend from yellow to gray, and every stock will affect your final printed color. Add to that the fact that finishes have their own tints ranging from the glues used in film lamination, UV inks, or varnishes, each can add it’s own signature to your print. Always request drawdowns on the appropriate stock with final finishes applied, allowing you to better manage client expectations. The packaging you design today, will not deliver branded user experiences until after production, testing, fulfillment, and finally, transportation. Trend inspired packaging design is a surefire way to date your design. Trends aren’t built to last, so they’re guaranteed to fade faster than your production timeline, focus on the user and deliver the brand promise over aesthetic me­too­ness.

In the end, the designer is the vehicle that creates relationships between form (medium) and content (message) to deliver a brand’s clear and concise message in a compelling way. It is never about you. It is about them.


Editorial photograph

Written by: Evelio Mattos

Evelio is the Creative Director of Design Packaging Inc., his reputation as one of the leading structural and visual packaging designers for international retail brands has led to successful collaborative partnerships with luxury brands spanning industries from fashion & beauty to wine & spirits. His extensive knowledge of processes, materials, manufacturing, and budgets, in addition to design, has led he and his team to become a trusted source in the ever-evolving world of retail. 

Evelio’s co-authored book series Packaging & Dielines: The Designer’s Book of Packaging Dielines, a free resource in partnership with TheDieline.com continues his personal mission of supporting and building a global design community through collaboration and education.